How To Wire a 240V Outlet for Appliances
Learn how to wire a 240V outlet for appliances like EV chargers or dryers with our detailed DIY guide. Step-by-step instructions ensure safe installation.
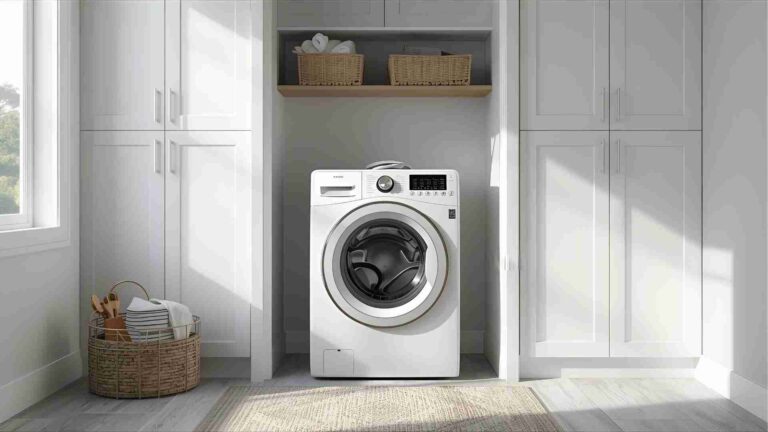
High-powered appliances like electric vehicle (EV) chargers, clothes dryers, ovens, and heavy-duty workshop tools require more than the standard 120V outlets found in most homes. A 240V outlet delivers the robust electrical supply these devices need, offering faster performance and greater efficiency. For EV owners, a 240V outlet (often referred to as a Level 2 charger) can reduce charging times from days to mere hours. For homeowners with powerful appliances or tools, it’s a game-changer that unlocks their full potential.
This comprehensive guide will walk you through the process of wiring a 240V outlet in your garage or home, focusing on safety, efficiency, and compliance with electrical codes. Whether you’re a seasoned DIYer or considering hiring a professional, we’ll cover everything from planning and materials to step-by-step installation and troubleshooting. We’ll also discuss costs, safety considerations, and the benefits of upgrading to a 240V outlet, ensuring you have all the information needed to make an informed decision.
Introduction
A 240V outlet, unlike the standard 120V outlets used for everyday devices, provides the high voltage and amperage required for heavy appliances like electric vehicle (EV) chargers, dryers, ovens, and power tools. These outlets are essential for efficient operation, delivering up to five times faster performance for tasks like EV charging. This guide provides a detailed, step-by-step process for installing a 240V outlet, focusing on safety, compliance with the National Electrical Code (NEC), and practical tips for DIYers or those hiring professionals.
Why Install a 240V Outlet?
A 240V outlet is critical for high-powered appliances and offers several advantages:
- Faster Charging for EVs: A Level 2 EV charger (240V) can charge an electric vehicle in 4-8 hours, compared to 24-48 hours with a 120V Level 1 charger.
- Enhanced Appliance Performance: Devices like dryers, ovens, and power tools operate more efficiently, reducing energy waste.
- Future-Proofing: As EVs and smart appliances become more common, a 240V outlet increases your home’s functionality and value.
- Dedicated Power Supply: Prevents circuit overloads and breaker trips by providing a dedicated high-capacity circuit.
Prerequisites for Installation
Before starting, ensure your home is ready for a 240V outlet:
- Electrical Panel Capacity: Verify that your panel has enough capacity (typically 200 amps) and two adjacent slots for a double-pole breaker. Older homes may require a panel upgrade.
- Local Codes and Permits: Check with your local building authority for permit requirements and NEC compliance. Some areas mandate professional installation.
- Tools and Materials: Gather essential tools (e.g., multimeter, wire strippers, screwdrivers) and materials (e.g., 10/3 cable, 30-amp receptacle, double-pole breaker).
Tools Required
- Jab saw
- Level
- Lineman’s pliers
- Screwdrivers (standard and Phillips)
- Tape measure
- Utility knife
- Wire strippers
- Multimeter or non-contact voltage tester
- Stud finder (optional)
Materials Required
| Material | Description | Approx. Price |
|---|---|---|
| 10/3 NM-B Cable | Non-metallic sheathed cable with ground for 30-amp circuits | $40 for 50 ft |
| 30-Amp Receptacle | 4-prong, 120/240V dryer or EV charger outlet (e.g., NEMA 14-30 or 14-50) | $9-$27 |
| Double-Pole Breaker | 30-50 amp, matches receptacle and appliance requirements | $45 |
| 2-Gang Electrical Box | PVC “old work” box for drywall installation | $7 |
| Cover Plate | For receptacle | $3 |
| Wire Connectors | For securing connections | $12 |
| Electrical Tape | For insulation | $3 |
Choosing the Right Location
The ideal location for a 240V outlet depends on its intended use:
- For EV Chargers: Install in the garage near the vehicle’s charging port for convenience and protection from weather. Most Level 2 charger cables are 15-25 feet long.
- For Appliances: Place near the appliance (e.g., dryer or oven) to minimize cord length and tripping hazards.
- Outdoor Installation: If a garage isn’t available, use a NEMA-rated weatherproof enclosure on an exterior wall near the parking spot.
Safety Considerations
- Ensure the outlet is elevated to avoid flooding.
- Use a lockable cover for outdoor outlets to prevent unauthorized access.
- Maintain clearance around the outlet to avoid interference with shelves or cabinets.
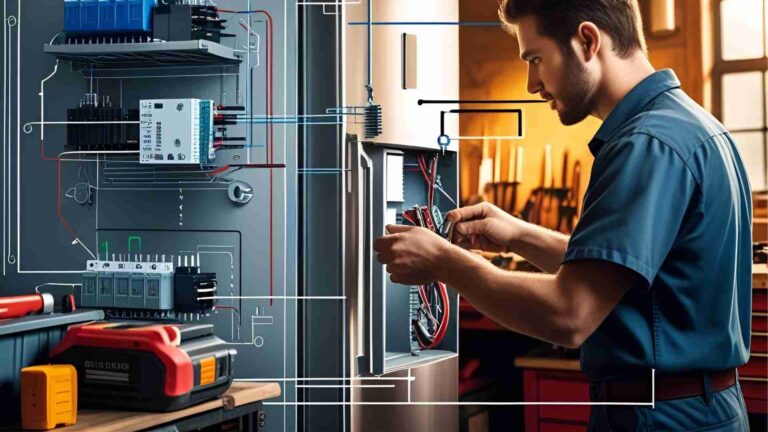
Step-by-Step Installation Guide
Follow these steps to safely wire a 240V outlet for a 30-amp appliance or EV charger. Always prioritize safety and consult a professional if unsure.
Step 1: Turn Off Power
- Switch off the main power at the electrical panel.
- Use a multimeter or non-contact voltage tester to confirm no current is flowing.
Step 2: Plan the Circuit
- Map the wiring route from the electrical panel to the outlet location, avoiding studs, pipes, and other obstacles.
- Measure the distance to determine the required cable length (e.g., 10/3 NM-B for a 30-amp circuit).
Step 3: Lay Out and Cut the Outlet Box
- Use a stud finder to locate and avoid studs in the wall.
- Position a 2-gang PVC “old work” box at the desired height (typically 48 inches for accessibility).
- Trace the box outline on the drywall with a pencil, using a level to ensure alignment.
- Cut the drywall with a jab saw, staying inside the pencil line. Test-fit the box and shave excess drywall if needed.
Step 4: Run the Wiring
- Punch out a cable entry in the electrical box.
- Feed the 10/3 NM-B cable through the wall from the panel to the outlet location.
- Pull about 8 inches of cable into the box, leaving enough slack for adjustments.
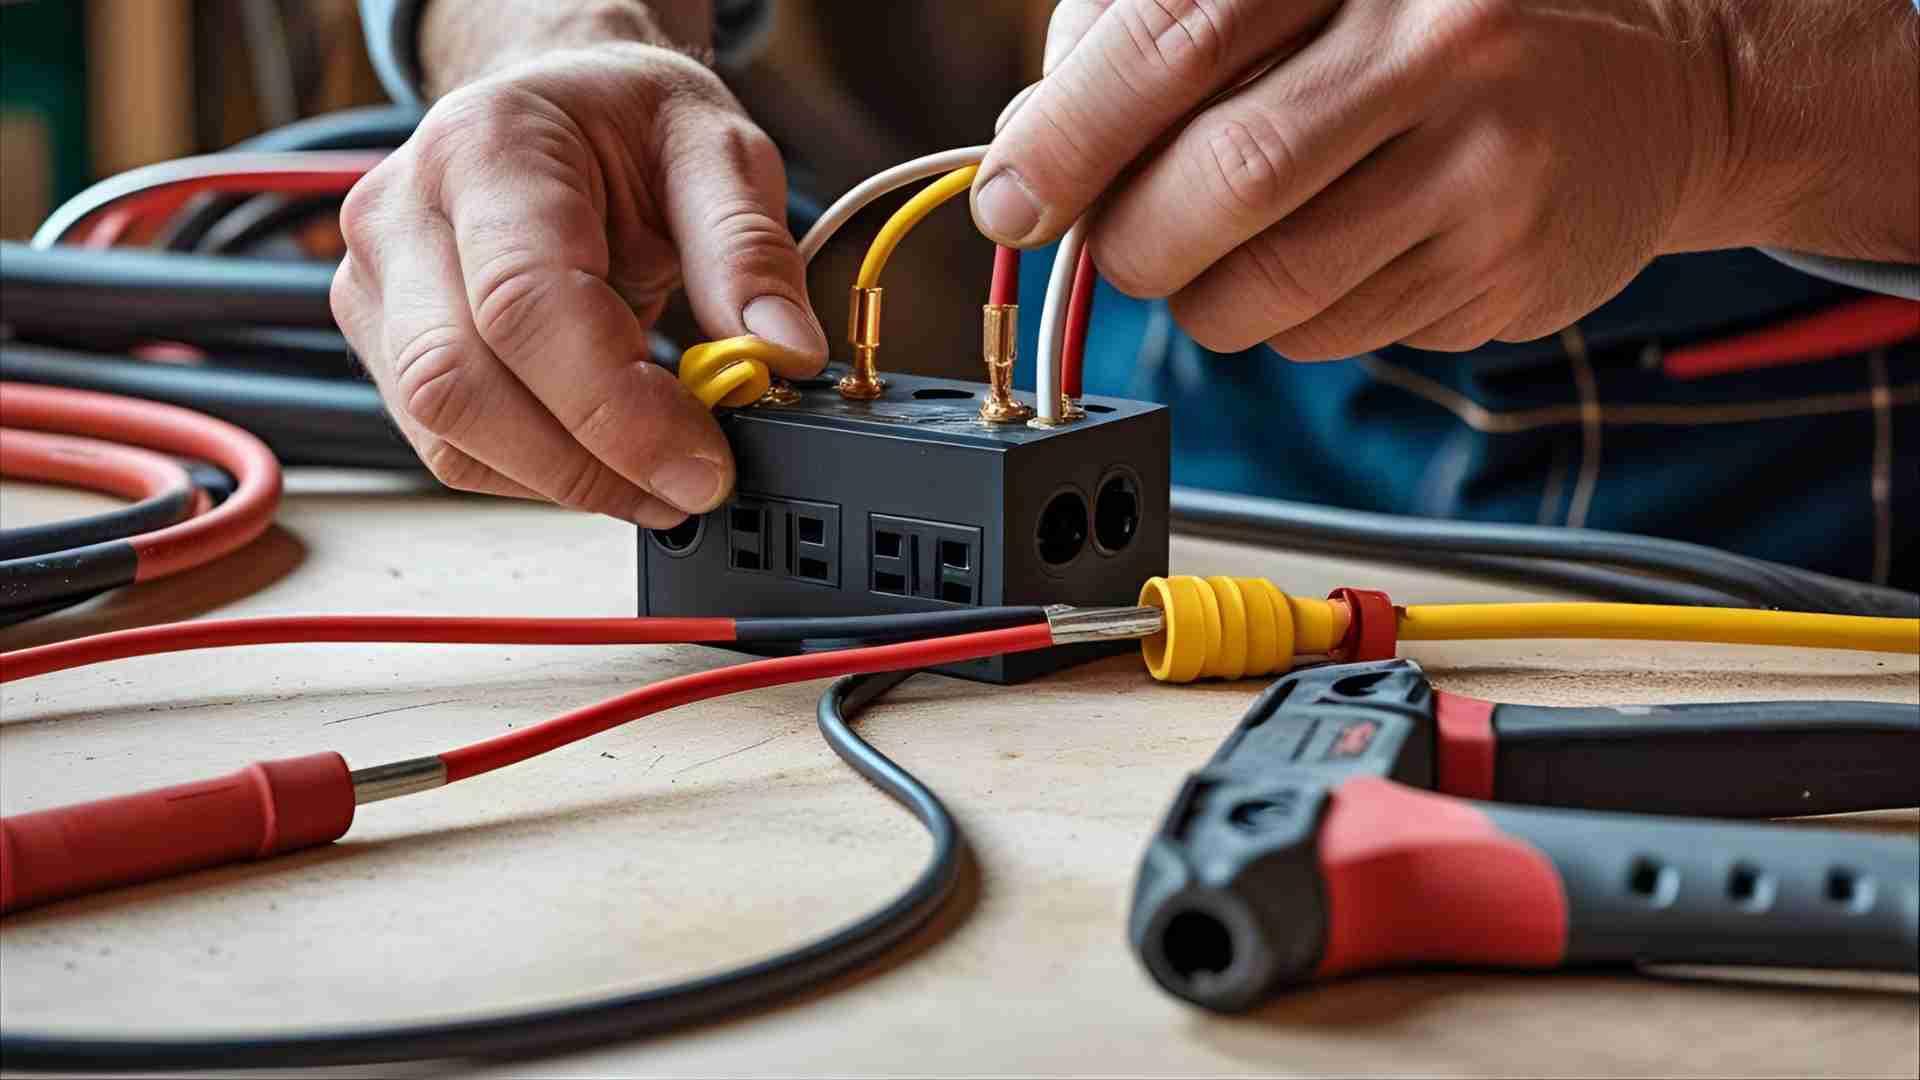
Step 5: Prepare the Cable
- Slice the outer sheath of the cable lengthwise with a utility knife to expose the black, red, white, and bare ground wires.
- Trim the sheath and any paper insulation with lineman’s pliers.
- Strip 1/2 inch of insulation from the black, red, and white wires using wire strippers.
Step 6: Connect the Wires to the Receptacle
- Attach the bare ground wire to the green “ground” terminal on the receptacle and tighten the screw.
- Connect the white wire to the “neutral” terminal.
- Attach the black wire to the “X” hot terminal and the red wire to the “Y” hot terminal (or vice versa; either is acceptable).
- Tug each wire to ensure secure connections.
Step 7: Install the Receptacle and Box
- Orient the receptacle (ground prong up or down) based on space constraints and cord clearance.
- Fold the wires carefully into the box to avoid loosening connections.
- Secure the receptacle to the box with provided screws, leaving them slightly loose for leveling.
- Insert the box into the drywall, tighten the wings to grip the wall, and level the receptacle before fully tightening the screws.
Step 8: Install the Circuit Breaker
- In the electrical panel, connect the black and red hot wires to the double-pole breaker.
- Attach the white neutral wire to the neutral bus bar and the bare ground wire to the ground bus bar.
- Snap the breaker into an available slot in the panel.
Step 9: Test and Finalize
- Restore power to the panel.
- Use a multimeter to verify the outlet delivers 240V.
- Attach the cover plate, ensuring screws are aligned for a professional finish.
Wiring Diagram
Below is a chart illustrating the wiring connections for a 240V outlet:

Cost Breakdown
The cost to install a 240V outlet varies based on whether you DIY or hire a professional:
| Component | DIY Cost | Professional Cost |
|---|---|---|
| Materials (cable, receptacle, breaker, box, etc.) | $100-$400 | $100-$400 |
| Labor | $0 | $200-$1,000 |
| Permits/Inspections | $50-$200 | $50-$200 |
| Total | $150-$600 | $350-$1,600 |
- DIY Savings: By doing the work yourself, you can save $200-$1,000 in labor costs, but only if you’re confident in your electrical skills.
- Professional Installation: Hiring a licensed electrician ensures safety and code compliance, with hourly rates ranging from $50-$150.
Cost-Saving Tips
- Purchase materials in bulk or during sales at home improvement stores.
- Schedule work during off-peak seasons for lower labor rates.
- Bundle the installation with other electrical projects to reduce overall costs.
- Compare quotes from multiple electricians to find the best rate.
Safety and Compliance
Working with 240V circuits carries significant risks, including electrocution and fire hazards. Key safety tips include:
- Always Turn Off Power: Verify with a voltage tester before touching wires.
- Follow NEC Guidelines: Use a 4-prong receptacle (e.g., NEMA 14-30 or 14-50) for new installations, as required by modern codes.
- Check Local Codes: Some areas prohibit DIY electrical work or require permits.
- Hire a Professional if Unsure: Electrical mistakes can be costly or dangerous.
DIY vs. Professional Installation
While DIY installation is feasible for those with electrical experience, it’s not recommended for beginners due to the complexity and risks involved. Here’s a comparison:
| Factor | DIY | Professional |
|---|---|---|
| Cost | $150-$600 | $350-$1,600 |
| Time | 4-8 hours | 2-4 hours |
| Risk | High (if inexperienced) | Low |
| Code Compliance | Your responsibility | Ensured by electrician |
| Warranty | None | Often included |
For most homeowners, hiring a licensed electrician is the safer and more reliable option, especially for EV charger installations or complex panel work.
Benefits of a 240V Outlet
Installing a 240V outlet offers numerous advantages:
- Faster EV Charging: Charge your electric vehicle in 4-8 hours, compared to 24-48 hours with a 120V outlet.
- Improved Appliance Efficiency: High-powered devices like dryers and ovens operate more effectively, saving energy.
- Versatility: Supports a range of appliances, from welders to hot tubs, making your garage a multipurpose space.
- Increased Home Value: Appeals to buyers seeking homes equipped for EVs and modern appliances.
- Reliability: A dedicated circuit prevents breaker trips and ensures consistent performance.
Troubleshooting Common Issues
If your 240V outlet isn’t working as expected, consider these solutions:
- No Power: Check breaker connections, ensure the breaker is properly seated, and verify wiring at the receptacle.
- Breaker Trips: Confirm the breaker and wire gauge match the appliance’s requirements. Overloading may indicate insufficient panel capacity.
- Outlet Not Delivering 240V: Use a multimeter to test voltage. Loose connections or incorrect wiring may be the cause.
- Code Violations: If an inspector flags issues, consult a licensed electrician to correct the installation.
Recommended Products
For EV charging, consider reliable Level 2 chargers like those from Autel. Their AC EV chargers are user-friendly, durable, and designed for straightforward installation. A popular option is the Autel MaxiCharger Home 40A, priced at approximately $500-$600, which pairs well with a NEMA 14-50 outlet.
Conclusion
Wiring a 240V outlet is a rewarding project that enhances your home’s functionality, whether for EV charging, appliances, or workshop tools. While DIY installation is possible for those with electrical experience, hiring a licensed electrician ensures safety, compliance, and peace of mind. By following this guide, you can plan, execute, and enjoy the benefits of a 240V outlet tailored to your needs.
FAQs
No, you cannot simply convert a 120V outlet to 240V. The outlet, wiring, and breaker must be replaced to handle the higher voltage and amperage. The existing electrical box and wall cutout may be reused, but all other components need to be 240V-rated.
For practical purposes, 220V and 240V outlets are interchangeable in most residential applications. Modern standards use 240V, but older systems may be labeled 220V. Always match the outlet and breaker to your appliance’s requirements.
For a 30-amp 240V outlet, use 10/3 NM-B cable (two hot wires, one neutral, one ground). For a 50-amp outlet, use 6/3 NM-B cable. Confirm wire gauge with local codes and appliance specifications.
Yes, for a 120/240V appliance (e.g., dryer or EV charger), a neutral wire is required to power 120V components like timers or displays. Pure 240V circuits (e.g., for some water heaters) may not need a neutral, but a ground wire is always required.
By following this guide, you can confidently plan and execute a 240V outlet installation, transforming your garage into a high-powered hub for your appliances or EV charging needs. For complex installations or to ensure compliance, consider contacting a licensed electrician to handle the job safely and efficiently.
Please share this How To Wire a 240V Outlet for Appliances your friends and do a comment below about your feedback.
We will meet you on next article.
Until you can read, DISH Remote Not Working After Changing Batteries