Clever DIY Tension Rod Shoe Shelving for Your Closet
Discover how to create a DIY tension rod shoe shelving system for your closet. Save space, organize shoes, and transform your closet with this budget-friendly hack!
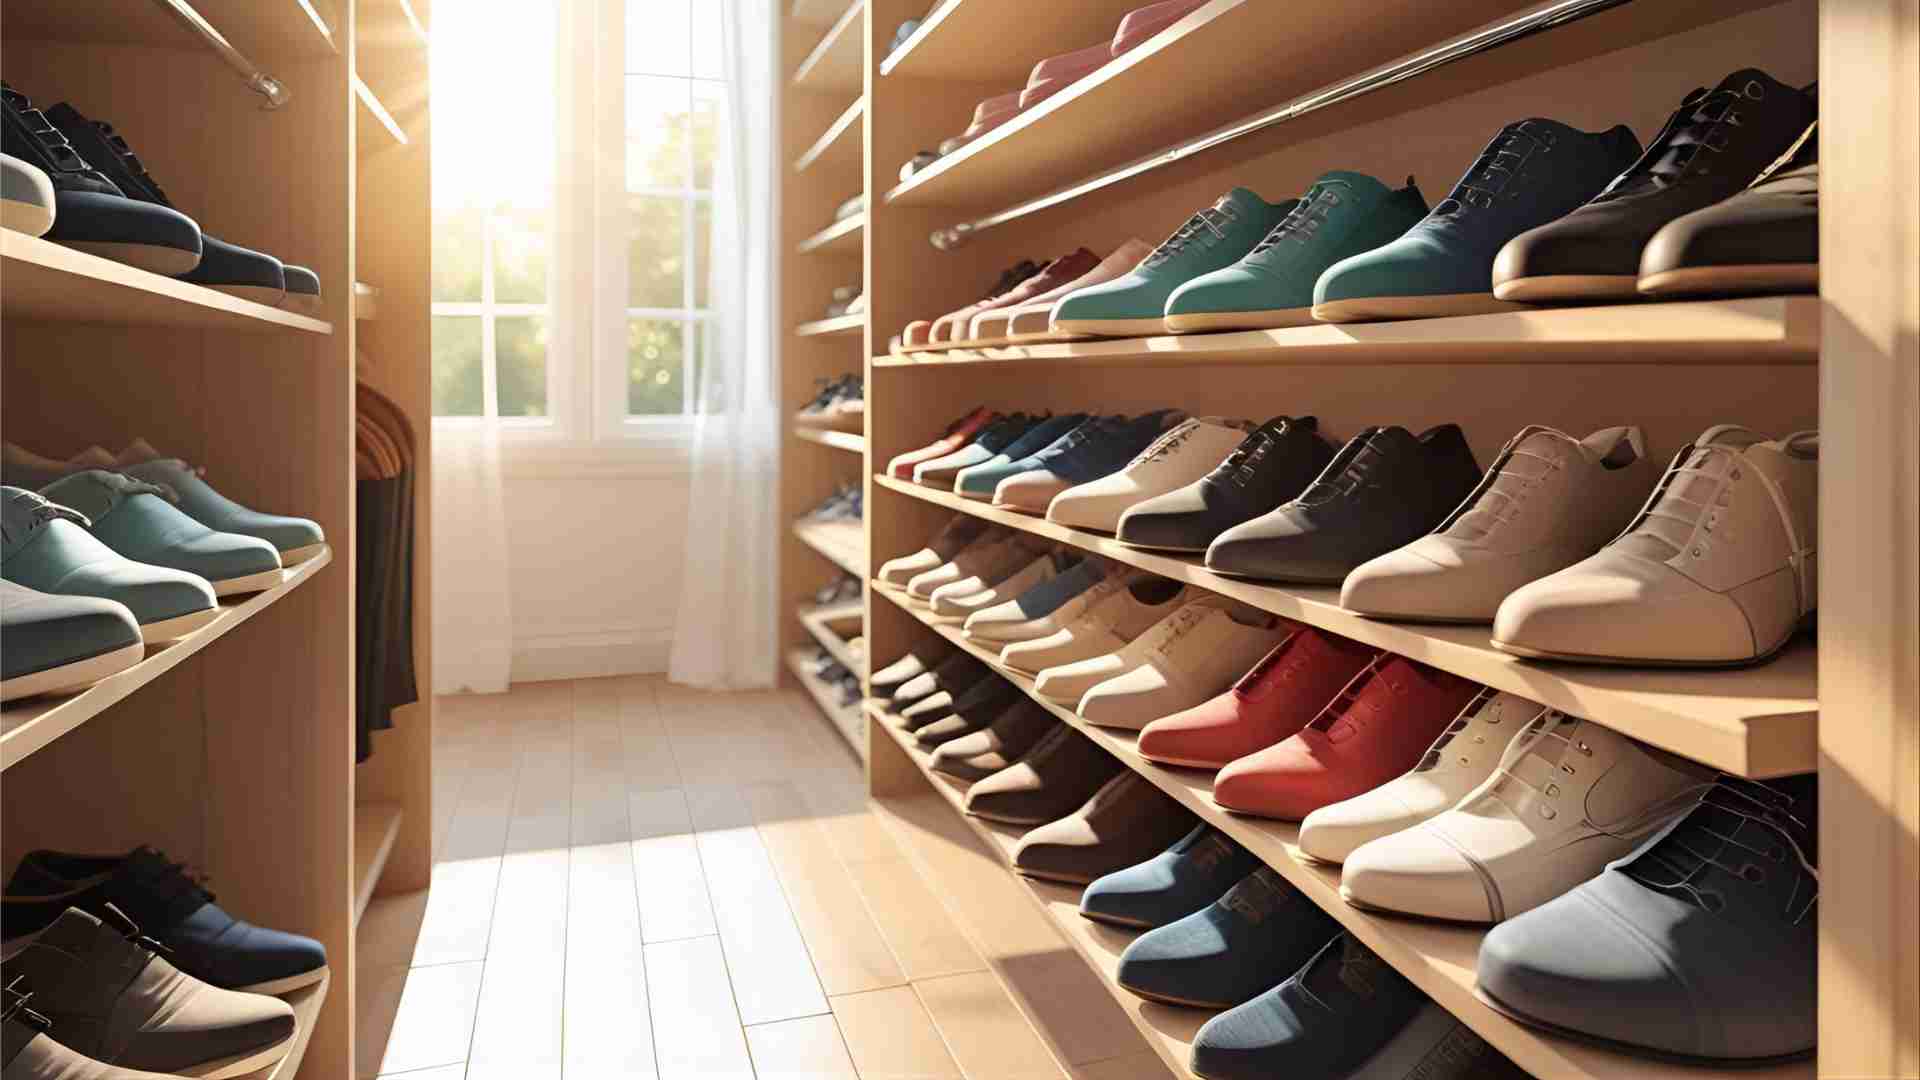
Closets are often the unsung heroes of home organization, but when it comes to shoes, they can quickly become chaotic. Piles of sneakers, heels, and boots cluttering the floor are a common sight in many homes. If you’re struggling with limited closet space or an overwhelming shoe collection, a DIY tension rod shoe shelving system could be the game-changer you need. This affordable, renter-friendly solution maximizes vertical space, keeps your shoes organized, and adds a touch of creativity to your closet. In this comprehensive guide, we’ll walk you through everything you need to know about using tension rods for shoe storage, from how they work to step-by-step installation instructions, practical tips, and additional hacks for other areas of your home.
Why Choose Tension Rods for Shoe Storage?
Tension rods are a versatile, budget-friendly tool that can transform your closet without requiring permanent fixtures or expensive renovations. Here’s why they’re ideal for shoe storage:
- Affordable: Tension rods are inexpensive, with prices ranging from $5 to $15 for a single rod, making them accessible for any budget.
- Renter-Friendly: No drilling or hardware is needed, so you can install and remove them without damaging walls.
- Customizable: Tension rods come in various sizes and can be adjusted to fit any closet width, from narrow entryway closets to spacious walk-ins.
- Space-Saving: By utilizing vertical space, tension rods free up valuable floor space for other storage needs.
- Versatile: Beyond shoes, tension rods can organize boots, accessories, and even household items in other rooms.
This guide will focus on creating a shoe shelving system, but we’ll also explore other creative uses for tension rods to maximize your home’s organization potential.
How Does a Spring Tension Rod Work?
Before diving into the installation process, let’s understand the mechanics of a spring tension rod. These rods are simple yet ingenious devices that rely on a spring-loaded mechanism to stay in place. Here’s how they work:
- Components: A tension rod consists of two metal tubes—one smaller tube slides into a larger one—with a spring inside.
- Mechanism: When you twist the rod, the spring compresses, creating outward pressure that secures the rod between two surfaces, such as closet walls.
- Adjustability: Most tension rods are adjustable, allowing you to extend or contract them to fit spaces ranging from 18 to 120 inches, depending on the model.
- Weight Capacity: Tension rods vary in strength. For example, the Zenna Home 44- to 72-Inch Rod can hold up to 30 pounds, while the Ausemku 26- to 76-Inch Rod supports up to 25 pounds. Always check the weight limit to avoid overloading.
This simple mechanism makes tension rods a reliable choice for creating instant shelving without tools or permanent fixtures.
Step-by-Step Guide to Installing Tension Rod Shoe Shelving
Creating a DIY tension rod shoe shelf is a straightforward project that requires minimal supplies and time. Follow these steps to transform your closet into an organized haven for your shoes.
Supplies Needed
- Tension rods (2 per shelf level, priced at $5–$15 each on Amazon or home improvement stores)
- Measuring tape
- Level (optional, for ensuring rods are straight)
- Shoes to organize
Step 1: Measure Your Closet
- Measure the width of the closet area where you plan to install the rods. Ensure the rods you purchase can extend to this width.
- Decide how many shelf levels you want. Each level requires two rods placed close together to form a slanted shelf.
- Consider the height of your shoes. For sneakers and flats, allow 6–8 inches between levels; for heels or boots, you may need 10–12 inches.
Step 2: Choose the Right Tension Rods
- Select rods with a weight capacity suitable for your shoes. For example, sneakers and flats are lightweight, but boots or heavy dress shoes may require sturdier rods.
- Recommended products:
- Zenna Home 44- to 72-Inch Tension Rod ($12.99, holds up to 30 pounds)
- Ausemku 26- to 76-Inch Tension Rod ($9.99, holds up to 25 pounds)
- BESTMD Small Tension Rods (12- to 20-Inch) ($10 for a 2-pack, ideal for narrow spaces or boots)
Step 3: Install the Tension Rods
- Adjust the Rods: Twist each rod to extend it slightly longer (about 1 inch) than the measured width of your closet. This ensures a secure fit.
- Position the Rods: Install two rods horizontally, parallel to each other, about 2–3 inches apart. Place the front rod approximately 0.5 inches lower than the back rod to create a slight slant. This angle prevents shoes from sliding off while making them easy to see.
- Secure the Rods: Twist the rods until they are taut against the closet walls or cubby sides. Test their stability by applying gentle pressure; they should not slip.
- Add Additional Levels: Repeat the process for additional shelf levels, spacing them according to your shoe heights.
Step 4: Arrange Your Shoes
- Place your shoes on the rods, resting the heels on the back rod and the toes on the front rod. The slight slant keeps them in place.
- For high heels, hang the heels over the back rod to save space and prevent them from falling.
- For delicate or lightweight shoes (e.g., ballet flats), consider using two thinner rods per level to create a more stable surface.
Step 5: Organize by Type
- Group similar shoes together (e.g., sneakers, heels, flats) for easy access.
- Place heavier shoes, like boots, on the floor or lower levels to avoid overloading the rods.
- Use the top levels for lighter shoes, such as sandals or slip-ons.
Step 6: Admire Your Work
- Step back and enjoy your newly organized closet. The tension rod shelves not only keep your shoes tidy but also free up floor space for other storage needs, like bins or additional shoe racks.
Boot Storage Bonus: Vertical Tension Rods
Tall boots often flop over, losing their shape and creating a cluttered look. Tension rods can solve this problem with a vertical installation:
- Supplies: Small tension rods (e.g., BESTMD 12- to 20-Inch Tension Rods, $10 for a 2-pack).
- Installation: Install the rods vertically from the top shelf of your closet to the ceiling or a higher shelf. Twist until taut.
- Usage: Slide each boot over a vertical rod to keep it upright. This preserves the boot’s shape and makes them easy to access.
- Benefits: This method is especially effective for tall leather or suede boots, preventing creases and extending their lifespan.
Does DIY Tension Rod Shelving Really Work?
You might wonder if tension rods can withstand the weight of shoes over time. The answer is a resounding yes, provided you follow these guidelines:
- Choose Quality Rods: Opt for rods with sufficient weight capacity for your shoes. For example, the Zenna Home Tension Rod (30-pound capacity) is ideal for most shoe collections.
- Secure Installation: Ensure the rods are twisted tightly to prevent slipping. Test their stability before adding shoes.
- Weight Distribution: Place heavier shoes on lower levels or the floor to avoid overloading the rods.
- Maintenance: Periodically check the rods for looseness and retighten as needed.
In practice, tension rod shelves are durable and effective. For instance, sneakers, flats, and heels stay securely in place, and the slanted design makes it easy to see and access your collection. High heels can be hung by their heels over the back rod, maximizing space and preventing damage.
Additional Tension Rod Hacks for Home Organization
Tension rods aren’t just for closets—they’re a versatile tool for organizing various spaces in your home. Here are some creative ideas to inspire you:
Kitchen Organization
- Cabinet Dividers: Install vertical tension rods in cabinets to separate baking sheets, cutting boards, or pot lids. This keeps items upright and accessible.
- Example: Use Ausemku 26- to 76-Inch Tension Rods ($9.99) to create dividers in deep cabinets.
- Under-Sink Storage: Hang a horizontal rod under the kitchen sink to suspend spray bottles by their nozzles or drape cleaning cloths.
- Instant Shelves: Place two parallel rods inside a cabinet or pantry to create a shelf for spices, small jars, or lightweight utensils.
Bathroom Makeovers
- Hanging Storage: Install a tension rod inside a cabinet or across a shower wall to hang baskets with toiletries or cleaning supplies.
- Example: Use BESTMD Small Tension Rods ($10 for a 2-pack) with S-hooks for shampoo and body wash.
- Shower Curtain Enhancements: Add a second rod inside the shower to hang washable liners or outside for towel storage.
Kids’ Play Areas and Craft Rooms
- Hanging Storage: Use rods with baskets to store markers, paintbrushes, or ribbons in a craft room.
- Backdrop for Play: Mount a rod between two walls to hang a backdrop for puppet shows or photo ops in a kids’ play area.
- Art Station Divider: Create a dedicated craft space in a shared room by using a rod to hang a curtain or divider.
Indoor Plant Supports
- Hanging Planters: Stretch a rod across a sunny window to hang lightweight potted plants or baskets.
- Climbing Plant Supports: Install vertical rods for climbing plants, securing vines with twine or clips.
Window Dressing
- Lightweight Curtains: Use tension rods to hang sheer or lace curtains for a budget-friendly window treatment.
- Example: Pair Zenna Home 44- to 72-Inch Tension Rod ($12.99) with lightweight curtains for a modern look.
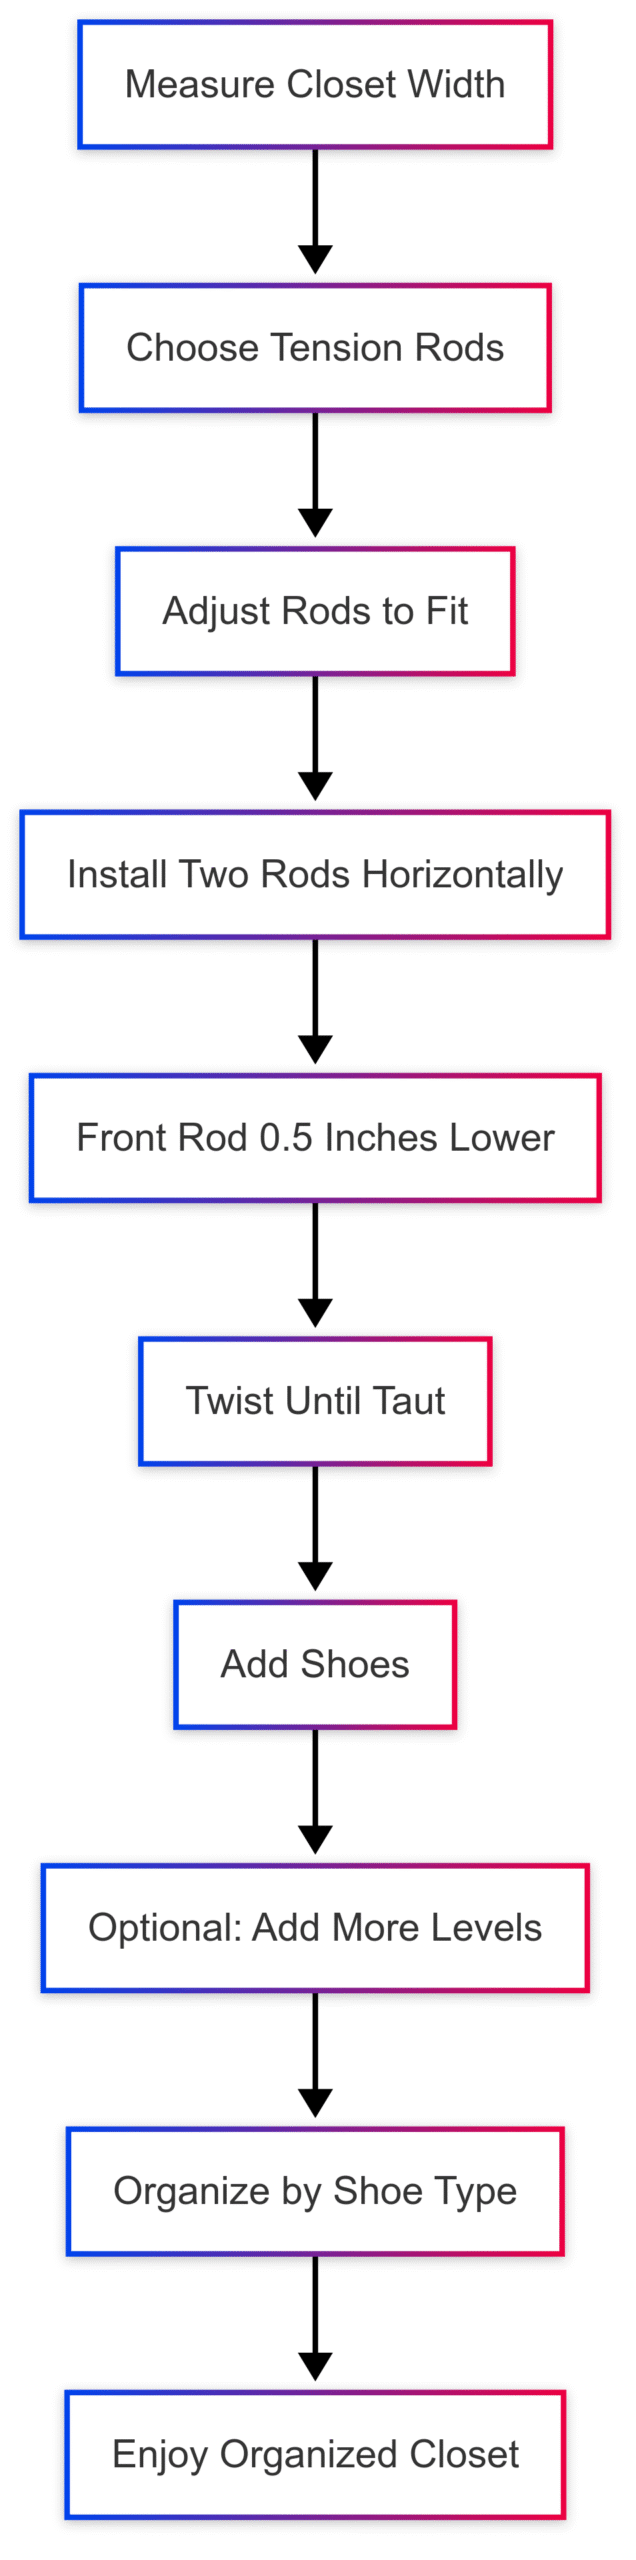
Chart: Tension Rod Shoe Shelving Setup
Below is a visual representation of the tension rod shoe shelving setup using a diagram for clarity.
Specifications and Pricing Table
| Product | Length Range | Weight Capacity | Price (USD) | Best For |
|---|---|---|---|---|
| Zenna Home Tension Rod | 44–72 inches | 30 pounds | $12.99 | General shoe storage |
| Ausemku Tension Rod | 26–76 inches | 25 pounds | $9.99 | General shoe storage |
| BESTMD Small Tension Rods (2-pack) | 12–20 inches | 15 pounds | $10.00 | Boot storage, narrow spaces |
| Hershii Expandable DIY Storage Shelf | 30–50 inches | 20 pounds | $15.99 | Additional shelving above rods |
Prices are approximate and based on Amazon listings at the time of writing.
Tips for Maximizing Your Tension Rod Shoe Shelving
- Group by Frequency: Place frequently worn shoes on the top or middle levels for easy access.
- Protect Delicate Shoes: For lightweight or delicate shoes, use two thinner rods per level to prevent them from slipping through.
- Add Peel-and-Stick Wallpaper: Apply wipeable wallpaper behind the rods to protect walls from dirt or scuff marks, especially for heels.
- Combine with Other Storage: Use floor space for bins or boxes to store seasonal shoes or accessories.
- Regular Maintenance: Check rod tension monthly to ensure they remain secure, especially in humid environments where metal may expand or contract.
Real-World Inspiration: TikTok and Beyond
The tension rod shoe shelving hack has gained popularity on platforms like TikTok, where creators like @knitting.love have showcased its simplicity and effectiveness. Their videos demonstrate how to install rods and organize everything from sneakers to boots, inspiring countless DIYers to try this hack. The beauty of this solution lies in its adaptability—whether you live in a small Brooklyn apartment or a spacious suburban home, tension rods can work wonders.
Challenges and Solutions
While tension rods are highly effective, they do have limitations. Here are common challenges and how to address them:
- Challenge: Rods slip under heavy weight.
- Solution: Choose rods with higher weight capacities and ensure they are twisted tightly. For heavy shoes, use the floor or lower levels.
- Challenge: Delicate shoes fall through the gap between rods.
- Solution: Use two thinner rods per level or place a lightweight plank across the rods for a solid surface.
- Challenge: Limited closet height.
- Solution: Focus on one or two levels and use vertical rods for boots to maximize space.
Final Thoughts
The DIY tension rod shoe shelving system is a brilliant solution for anyone looking to tame a chaotic closet without breaking the bank. With just a few inexpensive rods, you can create a custom, space-saving storage solution that keeps your shoes organized and accessible. From sneakers to stilettos, this hack accommodates all types of footwear while freeing up floor space for other storage needs. Plus, the versatility of tension rods extends beyond the closet, offering endless possibilities for organizing kitchens, bathrooms, and more.
Whether you’re a shoe enthusiast or simply seeking a clutter-free closet, this project is quick, affordable, and renter-friendly. So, grab some tension rods, follow the steps outlined in this guide, and transform your closet into an organized sanctuary. Your shoes—and your sanity—will thank you!
Please share this Clever DIY Tension Rod Shoe Shelving for Your Closet your friends and do a comment below about your feedback.
We will meet you on next article.
Until you can read, Broken window pane, where do I start to try and replace it?