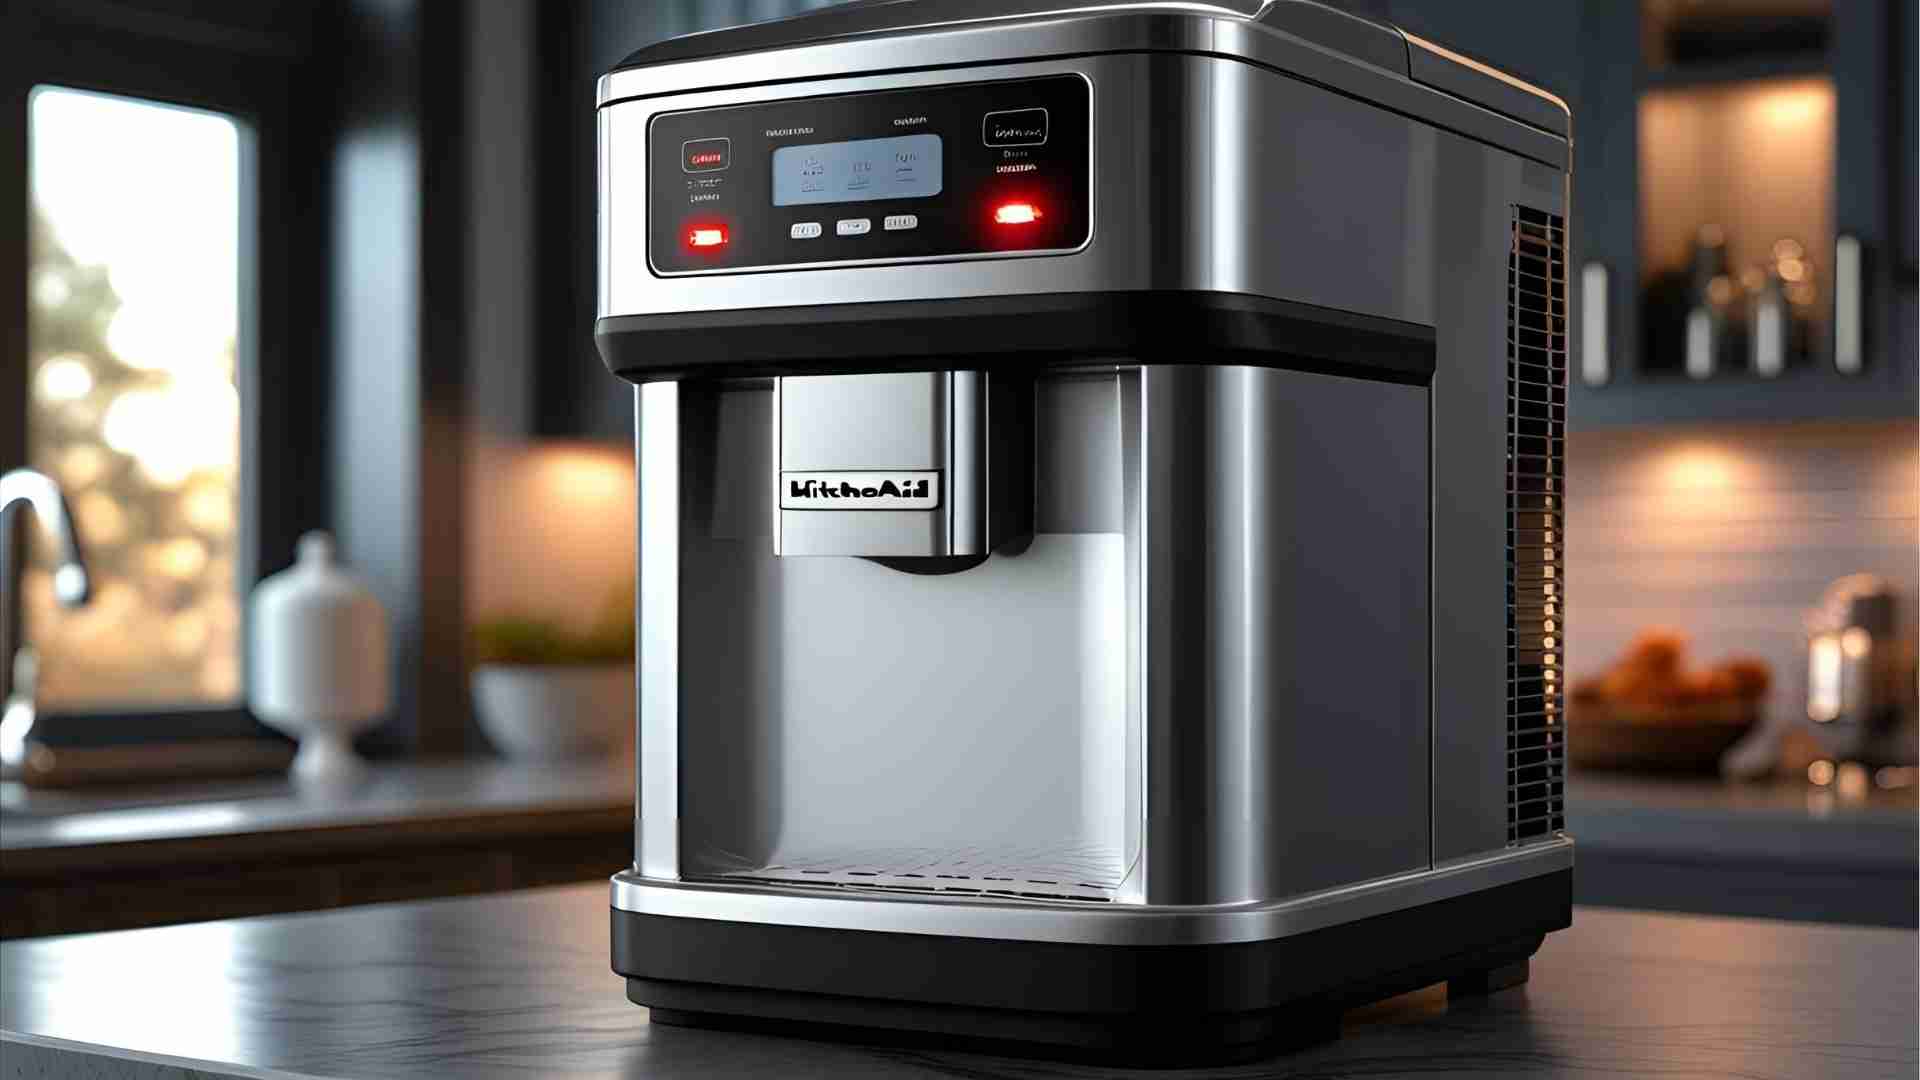
KitchenAid Ice Maker Red Light Blinking Twice
KitchenAid refrigerators, renowned for their innovative features and reliable performance, often include advanced ice-making systems designed to enhance kitchen convenience. However, a common issue reported by users, particularly with models like the KitchenAid Side-by-Side KSCS25F, is the ice maker’s red light blinking twice in a repeating pattern. This signal can indicate various underlying problems, from simple fixes to more complex repairs. This comprehensive guide explores the causes of the blinking red light, provides detailed troubleshooting steps, and offers maintenance tips to ensure your KitchenAid ice maker operates efficiently. Whether you’re a homeowner or a technician, this article will equip you with the knowledge to address this issue effectively.
Understanding the Red Light Blinking Pattern
The red light on a KitchenAid ice maker, typically part of the optic level control system, serves as an indicator of the ice maker’s operational status. In models like the KSCS25F, the light is part of an electronic eye that monitors the ice level in the bin to prevent overflow. A normal blinking pattern—two blinks followed by a pause, repeating continuously—indicates that the ice maker is functioning correctly and the bin is not full. However, if the ice maker stops producing ice or exhibits irregular behavior while the light blinks, it may signal a malfunction.
Common Scenarios
- Blinking Persists with No Ice Production: The ice maker may be stuck in a harvest cycle, or there could be an issue with the optic sensor, water supply, or internal components.
- Blinking Stops When Flapper is Pressed: Pressing the flapper (opposite the light) should turn the light solid red, indicating the optic sensor is functioning. Persistent blinking suggests a sensor or control issue.
- Intermittent Ice Production: The ice maker may resume operation after a reset or power cycle, but the blinking light persists, indicating a potential underlying issue.
Step-by-Step Troubleshooting Guide
To diagnose and resolve the blinking red light issue, follow these structured troubleshooting steps. Each step addresses a specific potential cause, from simple checks to more involved repairs.
1. Verify Ice Maker Power and Settings
Ensure the ice maker is powered on and correctly configured:
- Check the On/Off Switch: Locate the ice maker’s on/off switch, typically inside the freezer compartment. Confirm it is in the “On” position. For some models, access the control panel, press the “Options” button, and toggle to “Ice Maker” to ensure it’s active.
- Inspect the Control Arm: The bail arm should be in the down position to enable ice production. If it’s up, lower it until it clicks.
- Power Cycle the Refrigerator: Unplug the refrigerator for 1–2 minutes or turn it off via the breaker. This resets the ice maker’s electronics and can resolve temporary glitches. Wait a few hours after restarting to check for ice production.
2. Check the Optic Level Control System
The optic sensor, responsible for detecting ice levels, is a common culprit for the blinking light issue. Test and clean the sensor as follows:
- Test the Sensor: Open the freezer door and observe the red light. It should blink twice, pause, and repeat. Press the flapper (on the left side, opposite the light) without blocking the beam. The light should turn solid red. If it continues blinking, the sensor may be faulty.
- Clean the Sensor: Ice or mineral deposits can obstruct the sensor. Use a soft cloth dipped in warm, soapy water to clean the sensor lens. Wipe away soap residue with a damp cloth and dry thoroughly.
- Inspect for Blockages: Remove any ice or foreign objects (e.g., frozen food) from the ice bin that might block the sensor’s beam.
If the sensor fails to respond correctly, consider replacing the optic level control kit (e.g., part number 4389102 for model KSCS25F). This kit includes both the emitter and receiver boards.
3. Inspect the Water Supply
A compromised water supply can halt ice production, even if the red light blinks normally. Check the following:
- Water Line Connection: Ensure the water supply line is connected to a cold water source and the shut-off valve is fully open.
- Check for Kinks: Inspect the water line behind the refrigerator for kinks or twists that could restrict flow. Straighten the line to restore pressure.
- Water Pressure: Low water pressure can lead to slow or no ice production. Verify that the saddle valve is correctly installed and provides adequate pressure (typically 30–120 psi for KitchenAid refrigerators).
4. Replace the Water Filter
A clogged or improperly installed water filter can reduce water flow, causing the ice maker to malfunction. Follow these steps:
- Check Filter Status: KitchenAid recommends replacing the water filter every 6 months or when the indicator shows low capacity (e.g., 23% as noted in some cases). For model KSCS25F, compatible filters include:
- Everydrop® Refrigerator Water Filter 6 (EDR6D1): $49.99, certified to reduce 99% of lead and other contaminants.
- KitchenAid Refrigerator Water Filter 3 (KAD3RXD1): $59.99.
- KitchenAid Refrigerator Water Filter 4 (KAD4RXD1): $59.99.
- Verify Installation: Remove the filter and attempt to dispense water. If water flows, the filter was incorrectly installed. Reinstall it, ensuring it locks into place.
- Flush the System: After replacing the filter, flush 1–4 gallons of water (per filter instructions) to remove air and carbon particles, which can cause small or hollow ice cubes.
5. Reset the Ice Maker
Resetting the ice maker can resolve electronic glitches causing the blinking light:
- Locate the Reset Button: Check behind a panel in the freezer or near the ice maker for a reset switch. Press and hold for 5 seconds, then release.
- Manual Reset: If no reset button is present, lower the bail arm until it clicks twice. Allow a few minutes for the ice maker to restart.
- Alternative Method: Tap the door jamb’s plastic tab to turn off the light, close the freezer door for 10 seconds, press the door switch three times, and close the door again. Wait a few seconds to confirm the reset.
6. Inspect for Ice Jams or Freezing
Ice buildup can interfere with the ice maker’s operation:
- Clear Ice Jams: Use a plastic or wooden utensil to remove ice stuck on the ejector arm or in the ice bin. Avoid metal tools to prevent damage.
- Defrost the Ice Maker: If the ice maker is frozen, set the freezer to 0°F (-18°C) and the refrigerator to 33–40°F (0–4°C). Allow 24 hours for thawing. For a frozen water inlet tube, consult a professional to avoid damaging the line.
- Check Alignment: Ensure the ice bin is properly positioned under the mold and the fill cup aligns with the fill valve’s spigot.
7. Evaluate Internal Components
If the above steps don’t resolve the issue, the problem may lie with internal components:
- Motor Module: A broken motor module can prevent ice ejection. Remove the ice maker (unscrew and slide out after depressing the tab) and inspect the main gear (approximately 2 inches in diameter). If the gear is broken or stuck, replace the ice maker assembly.
- Thermostat: A faulty thermostat can cause the motor module to fail. Replacing the ice maker assembly often includes a new thermostat, simplifying the repair.
- Complete Ice Maker Replacement: If multiple components are suspect, replacing the entire ice maker (e.g., part number varies by model, approximately $100–$150) may be more cost-effective. Consult a professional for installation if unsure.
Maintenance Tips for Optimal Performance
Regular maintenance prevents recurring issues with your KitchenAid ice maker:
- Clean Regularly: Wipe the ice maker’s interior and exterior with warm, soapy water or an ice machine cleaner. Remove debris and sanitize the ice bin periodically.
- Replace Filters Promptly: Swap out the water filter every 6 months or sooner in areas with hard water. Use only KitchenAid-approved filters like Everydrop® for compatibility.
- Monitor Water Supply: Regularly inspect the water line for leaks or damage. Ensure the refrigerator is not pushed too far back, which can pinch the line.
- Use the Ice Maker Frequently: Cycle ice regularly to prevent stale ice or buildup. Empty the bin occasionally if ice is not used often.
- Store Food Properly: Use freezer-safe containers to prevent odors from affecting ice taste. Avoid storing items in the ice bin that could block the sensor.
Common Issues and Solutions Table
| Issue | Possible Cause | Solution |
|---|---|---|
| No ice production | Ice maker off, low water pressure | Turn on ice maker, check water line and pressure, replace filter |
| Blinking red light persists | Faulty optic sensor | Clean sensor, test flapper response, replace optic control kit if needed |
| Small/misshapen cubes | Clogged filter, low water flow | Replace filter, check water line for kinks, flush system |
| Leaking water | Misaligned ice maker, ice buildup | Level refrigerator, clear ice jams, align fill cup |
| Bad taste/odor | Old filter, stale ice | Replace filter, cycle ice regularly, use freezer-safe food storage |
| Ice maker frozen | Incorrect temperature, frozen water line | Adjust thermostat, defrost water line with professional assistance |
Chart: Troubleshooting Workflow

This flowchart guides users through the troubleshooting process, starting with the blinking light and branching based on ice production and component checks.
When to Call a Professional
While many issues can be resolved with DIY troubleshooting, certain scenarios require professional expertise:
- Persistent Blinking After Repairs: If the optic sensor or ice maker replacement doesn’t stop the blinking, a deeper electrical issue may exist.
- Frozen Water Line: Defrosting the water inlet tube can be complex and risks damage without proper tools.
- Complex Component Replacement: Replacing the motor module, thermostat, or entire ice maker may require specialized knowledge to avoid damaging the refrigerator.
Contact KitchenAid support or schedule service through their official website (United States: Schedule Service Online; Canada: Contact Us). For extended coverage, consider KitchenAid’s Extended Service Plans, which offer up to 25% savings if purchased within 30 days of appliance acquisition.
Conclusion
A KitchenAid ice maker with a red light blinking twice can be a minor annoyance or a sign of a more significant issue, but with systematic troubleshooting, most problems can be resolved. By checking the power settings, optic sensor, water supply, and internal components, you can restore your ice maker’s functionality and enjoy the convenience of fresh ice. Regular maintenance, such as timely filter replacements and proper freezer storage, ensures long-term performance. For complex repairs, don’t hesitate to seek professional assistance to protect your investment in a KitchenAid refrigerator.
For replacement parts, such as water filters or optic control kits, visit KitchenAid’s official website or authorized retailers. With the right approach, your ice maker will keep your drinks chilled and your kitchen running smoothly.
Please share this KitchenAid Ice Maker Red Light Blinking Twice your friends and do a comment below about your feedback.
We will meet you on next article.
Until you can read, How to change an oven from Celsius to Fahrenheit